Level 011: The Lost Forest Puzzle Level 11 (Updated) | Easy Walkthrough & Solution
Quick SEO-friendly guide to solving **The Lost Forest Puzzle Level 11 (Updated) | Easy Walkthrough & Solution** — this concise overview highlights the visible puzzle layout, the central figure with three holes, the bottom-letter grid (A–I) and the plant icon so you can inspect and interact efficiently to finish Level 11.
Level overview
Quick SEO-friendly guide to solving The Lost Forest Puzzle Level 11 (Updated) | Easy Walkthrough & Solution — this concise overview highlights the visible puzzle layout, the central figure with three holes, the bottom-letter grid (A–I) and the plant icon so you can inspect and interact efficiently to finish Level 11.
Step 1. Inspect the puzzle layout

Begin by closely inspecting the screen for The Lost Forest Puzzle Level 11 (Updated) | Easy Walkthrough & Solution. Note the brown central figure on the right and the three circular holes; identifying these shapes is essential before using the letter grid. This view establishes the spatial relationships you'll use when matching letters to holes.
Step 2. Use the bottom letter grid
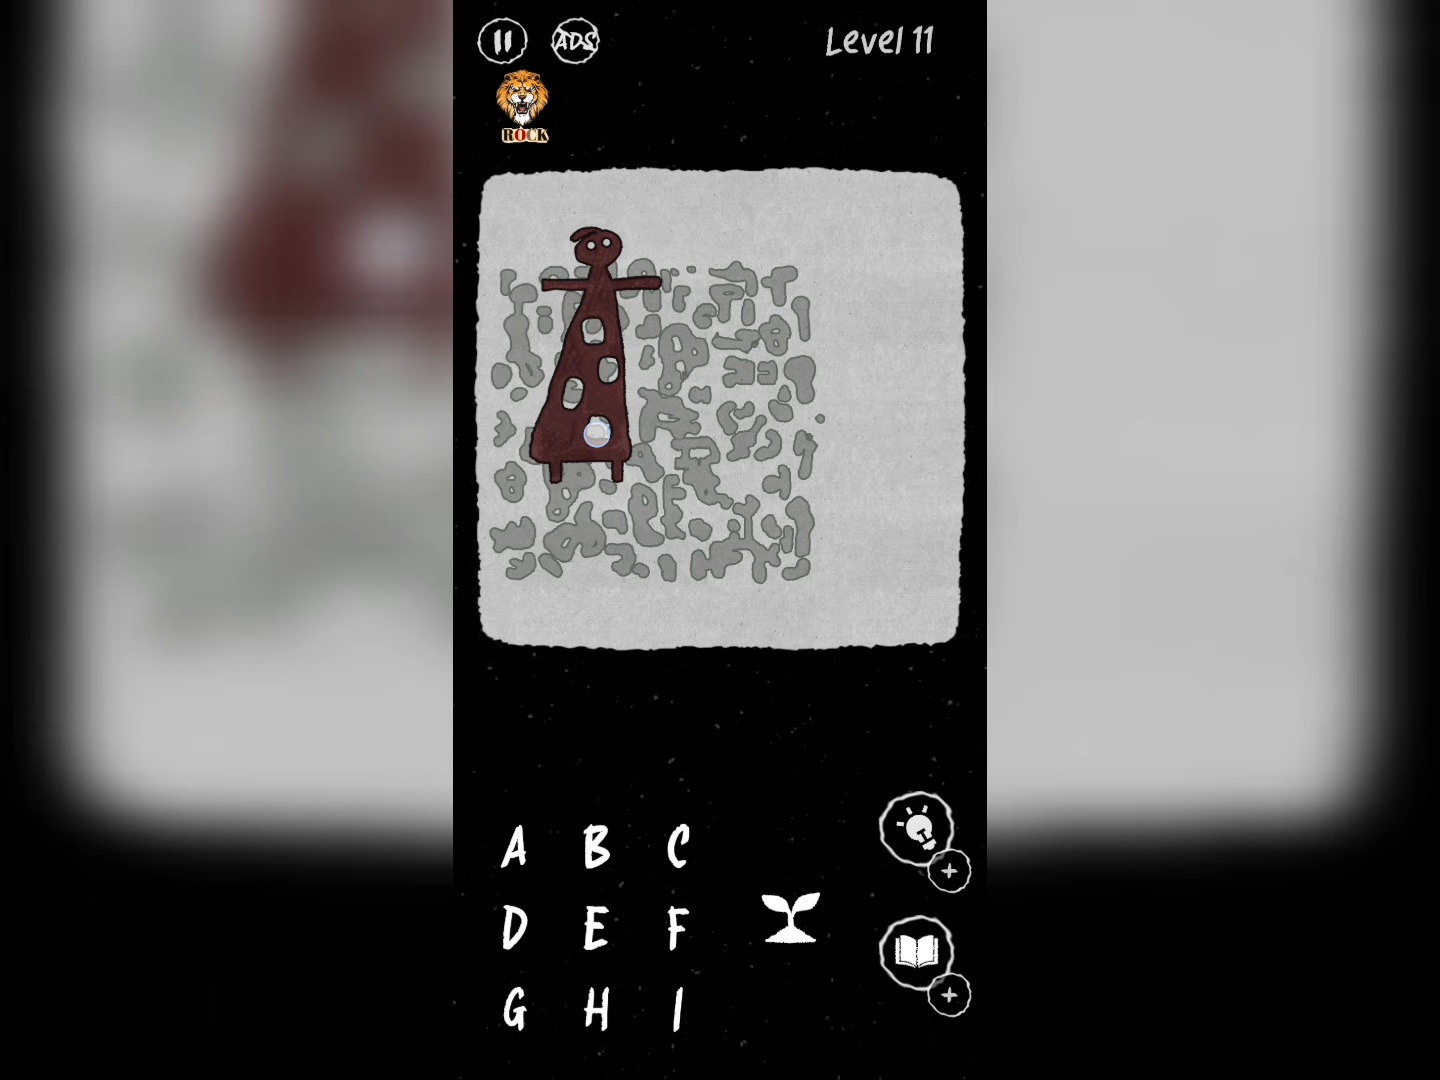
Use the A–I letter grid shown on-screen for The Lost Forest Puzzle Level 11 (Updated) | Easy Walkthrough & Solution to test combinations for each hole. Tap letters methodically and use the plant icon to cycle placement options if available; work top-to-bottom to reduce confusion. Keep an eye on how each letter highlights or fits into a hole to track progress.
Step 3. Place the final pieces and confirm
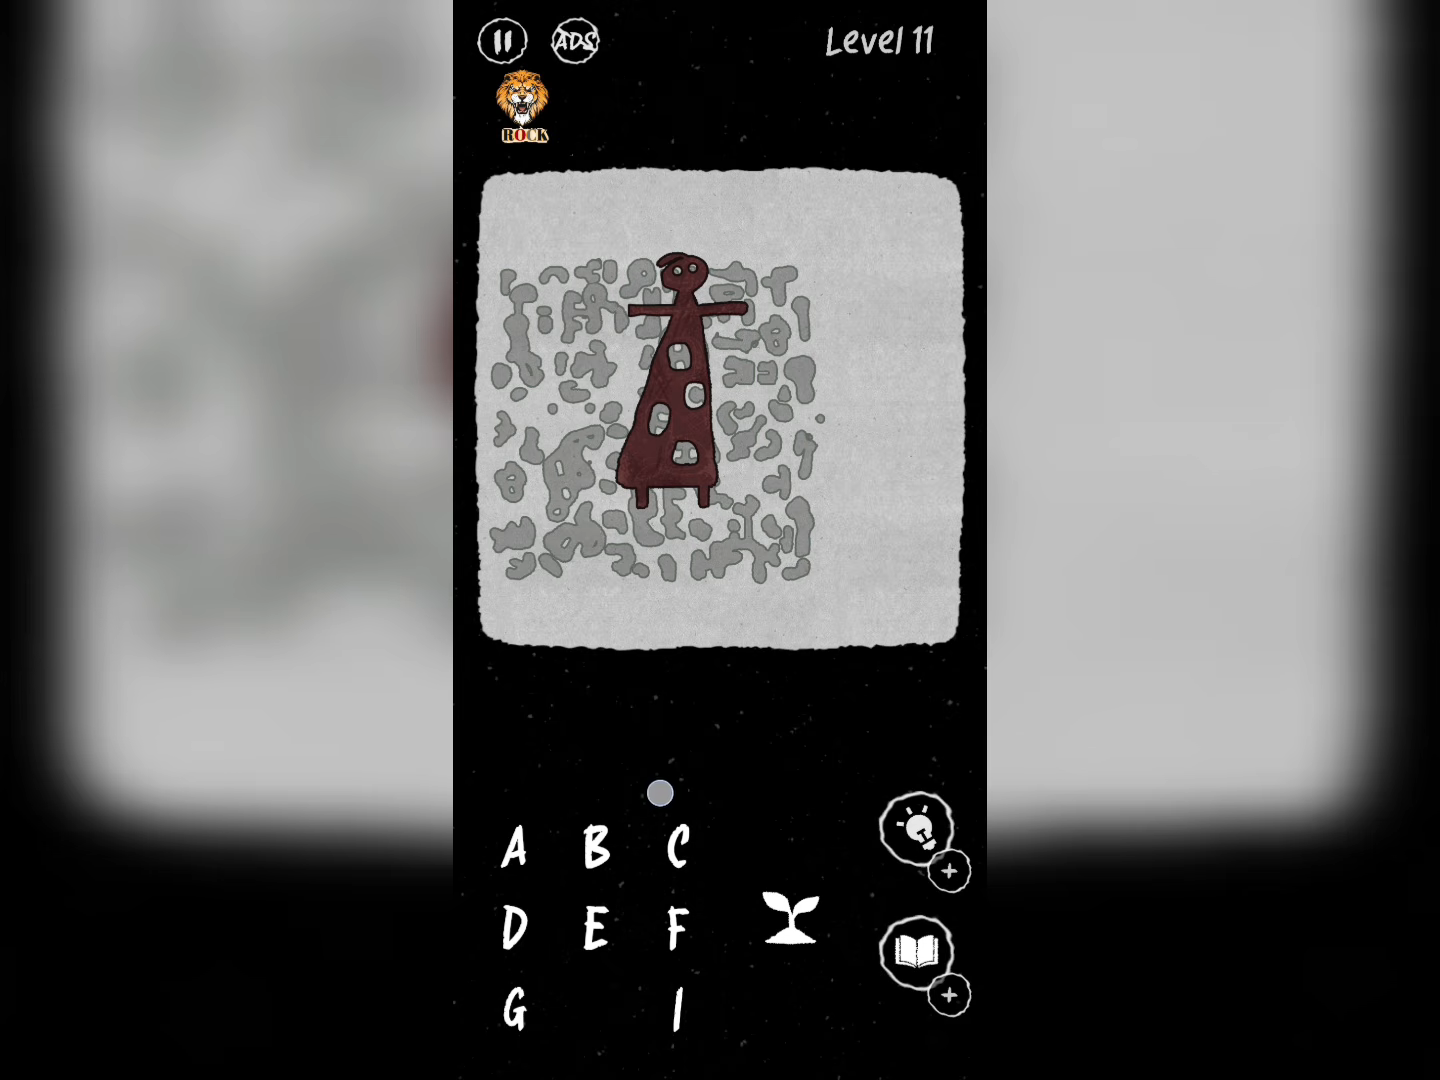
Finalize placements for The Lost Forest Puzzle Level 11 (Updated) | Easy Walkthrough & Solution by matching remaining letters to the last holes, working from top to bottom on the central figure. Confirm each placement visually; the puzzle will accept correct fits and complete the level once all holes are matched. If a placement fails, cycle the plant icon and retry adjacent letters until they lock in.
Extra tip
- The Lost Forest Puzzle Level 11 (Updated) | Easy Walkthrough & Solution Use the visible letters A–I to test combinations for each hole.
- Work top-to-bottom when matching shapes on the central figure.
- Tap the plant icon area first to reveal or cycle available placement options.